How To Cut The Collar Of A Shirt - A Simple Guide
Sometimes, you just want to give an old shirt a fresh vibe, or maybe you have a vision for a piece of clothing that just feels right without that stiff neckband. It’s a pretty common thought, you know, to wonder if you can just snip that part off and make something new. A lot of people feel this way, looking to change things up a bit with their wardrobe, and it’s actually a fun little project you can do at home with just a few things.
There's a real sense of accomplishment that comes from taking something you already own and giving it a completely different feel. Maybe it’s a shirt that’s a bit too formal for everyday wear, or one where the collar just doesn’t sit quite right anymore. Whatever the reason, transforming it into something new can be a very satisfying creative effort. It’s like, you’re not just getting rid of something, but you’re making it into something you’ll actually want to wear more often, which is pretty cool.
So, if you’ve been thinking about giving one of your shirts a collar-free existence, you’re in a good spot. We’re going to walk through the steps, making sure you feel ready and confident to make that change. It’s not as tricky as it might seem at first, and with a little guidance, you’ll be able to get a nice, tidy outcome. We’ll cover what you need and how to go about it, basically, so you can achieve that fresh, new look you’re after.
- French Crop Receding Hairline
- Just Gimme My Money Original
- Lamar Jackson Edit
- Cardi B Plastic Surgeon Dominican Republic
- Cheez It Recall
Table of Contents
- Getting Ready to Cut the Collar of a Shirt
- How Do You Actually Cut the Collar of a Shirt?
- Are There Different Styles When You Cut the Collar of a Shirt?
- What Can Go Wrong When You Cut the Collar of a Shirt?
- What Should You Do After You Cut the Collar of a Shirt?
Getting Ready to Cut the Collar of a Shirt
Before you even think about making a single snip, it's a good idea to get everything in order. This isn't something you want to rush into, as a matter of fact. Taking a moment to prepare your workspace and gather your items will really help the whole process feel smoother and give you a better chance at a nice result.
- Its Exactly 8 Oclock Im In The Van Animation
- Ryan Taugher Apology
- Matrix Dark Envy Before And After
- I Wish Italians Were Real
- Tongue Tongue Tongue Sahara
Think of it like getting ready to bake something delicious. You wouldn't just throw ingredients together, would you? You'd get your bowls, your measuring cups, and all your bits and pieces lined up. This project is, in a way, kind of similar. A little bit of foresight goes a long way to making sure your shirt gets the transformation you're hoping for without any unexpected bumps.
So, take a deep breath, find a flat spot, and let’s talk about what you’ll need to make this happen. It’s pretty straightforward, honestly, but having the right tools can make a real difference in how your finished shirt looks and feels.
What Tools Do You Need to Cut the Collar of a Shirt?
When you're preparing to make this change to your shirt, having the correct tools at hand is pretty important. You don't need a whole workshop, just a few key items that will help you achieve a clean separation of the neckband from the main garment. It's really about precision here, you know.
First off, you'll want a pair of very good cutting tools. These should be sharp, absolutely. Dull ones can cause the fabric to pull and fray, which is exactly what you want to avoid for a neat edge. If you have fabric shears, those are often the best choice, as they are truly designed for cloth. Kitchen scissors might work in a pinch, but they're not always as precise, so.
Next, grab some tailor’s chalk or a fabric marker. This is for making your guide marks on the shirt. You could use a regular pencil if you're very careful, but something that will wash away or disappear is usually a better option. You don't want permanent lines where you don't mean them to be, obviously.
A straight edge or a ruler will also be very helpful. This lets you draw a nice, straight line for your cut, which is pretty important for a tidy look. Eyeballing it can lead to wobbly lines, and you want something that looks like it was made with care, right?
You might also want some pins. These can help hold layers of fabric together if you're working with a more slippery material, or if you plan to do some kind of hem later on. They're just good to have around, basically, for keeping things in place.
And finally, a good, flat surface to work on. A table or a large cutting mat is ideal. You need a stable area where you can spread out your shirt without it bunching up or sliding around. This makes the whole process much less frustrating, you know, and safer too.
How Do You Actually Cut the Collar of a Shirt?
Now that you have your tools all lined up, it’s time to talk about the actual process of making that separation. This part might feel a little nerve-wracking at first, but if you take it slow and follow the steps, you’ll find it’s quite manageable. It’s about being deliberate with each movement, really.
Remember, once you make a cut, you can't really put the fabric back, so being thoughtful about where you snip is key. This is where those guide marks you made earlier come into play. They are your roadmap, basically, for where the new edge of your shirt will be.
We’ll break this down into smaller, more manageable actions. This way, you can focus on one thing at a time, making sure each step is done with care. It's about building up to the final result, you know, bit by bit.
Making the First Mark When You Cut the Collar of a Shirt
Okay, so your shirt is spread out flat, and you’ve got your marking tool and ruler ready. The very first thing to do is decide exactly where you want the new neckline to be. This is a pretty important decision, as it sets the tone for the whole new look of your garment, you know.
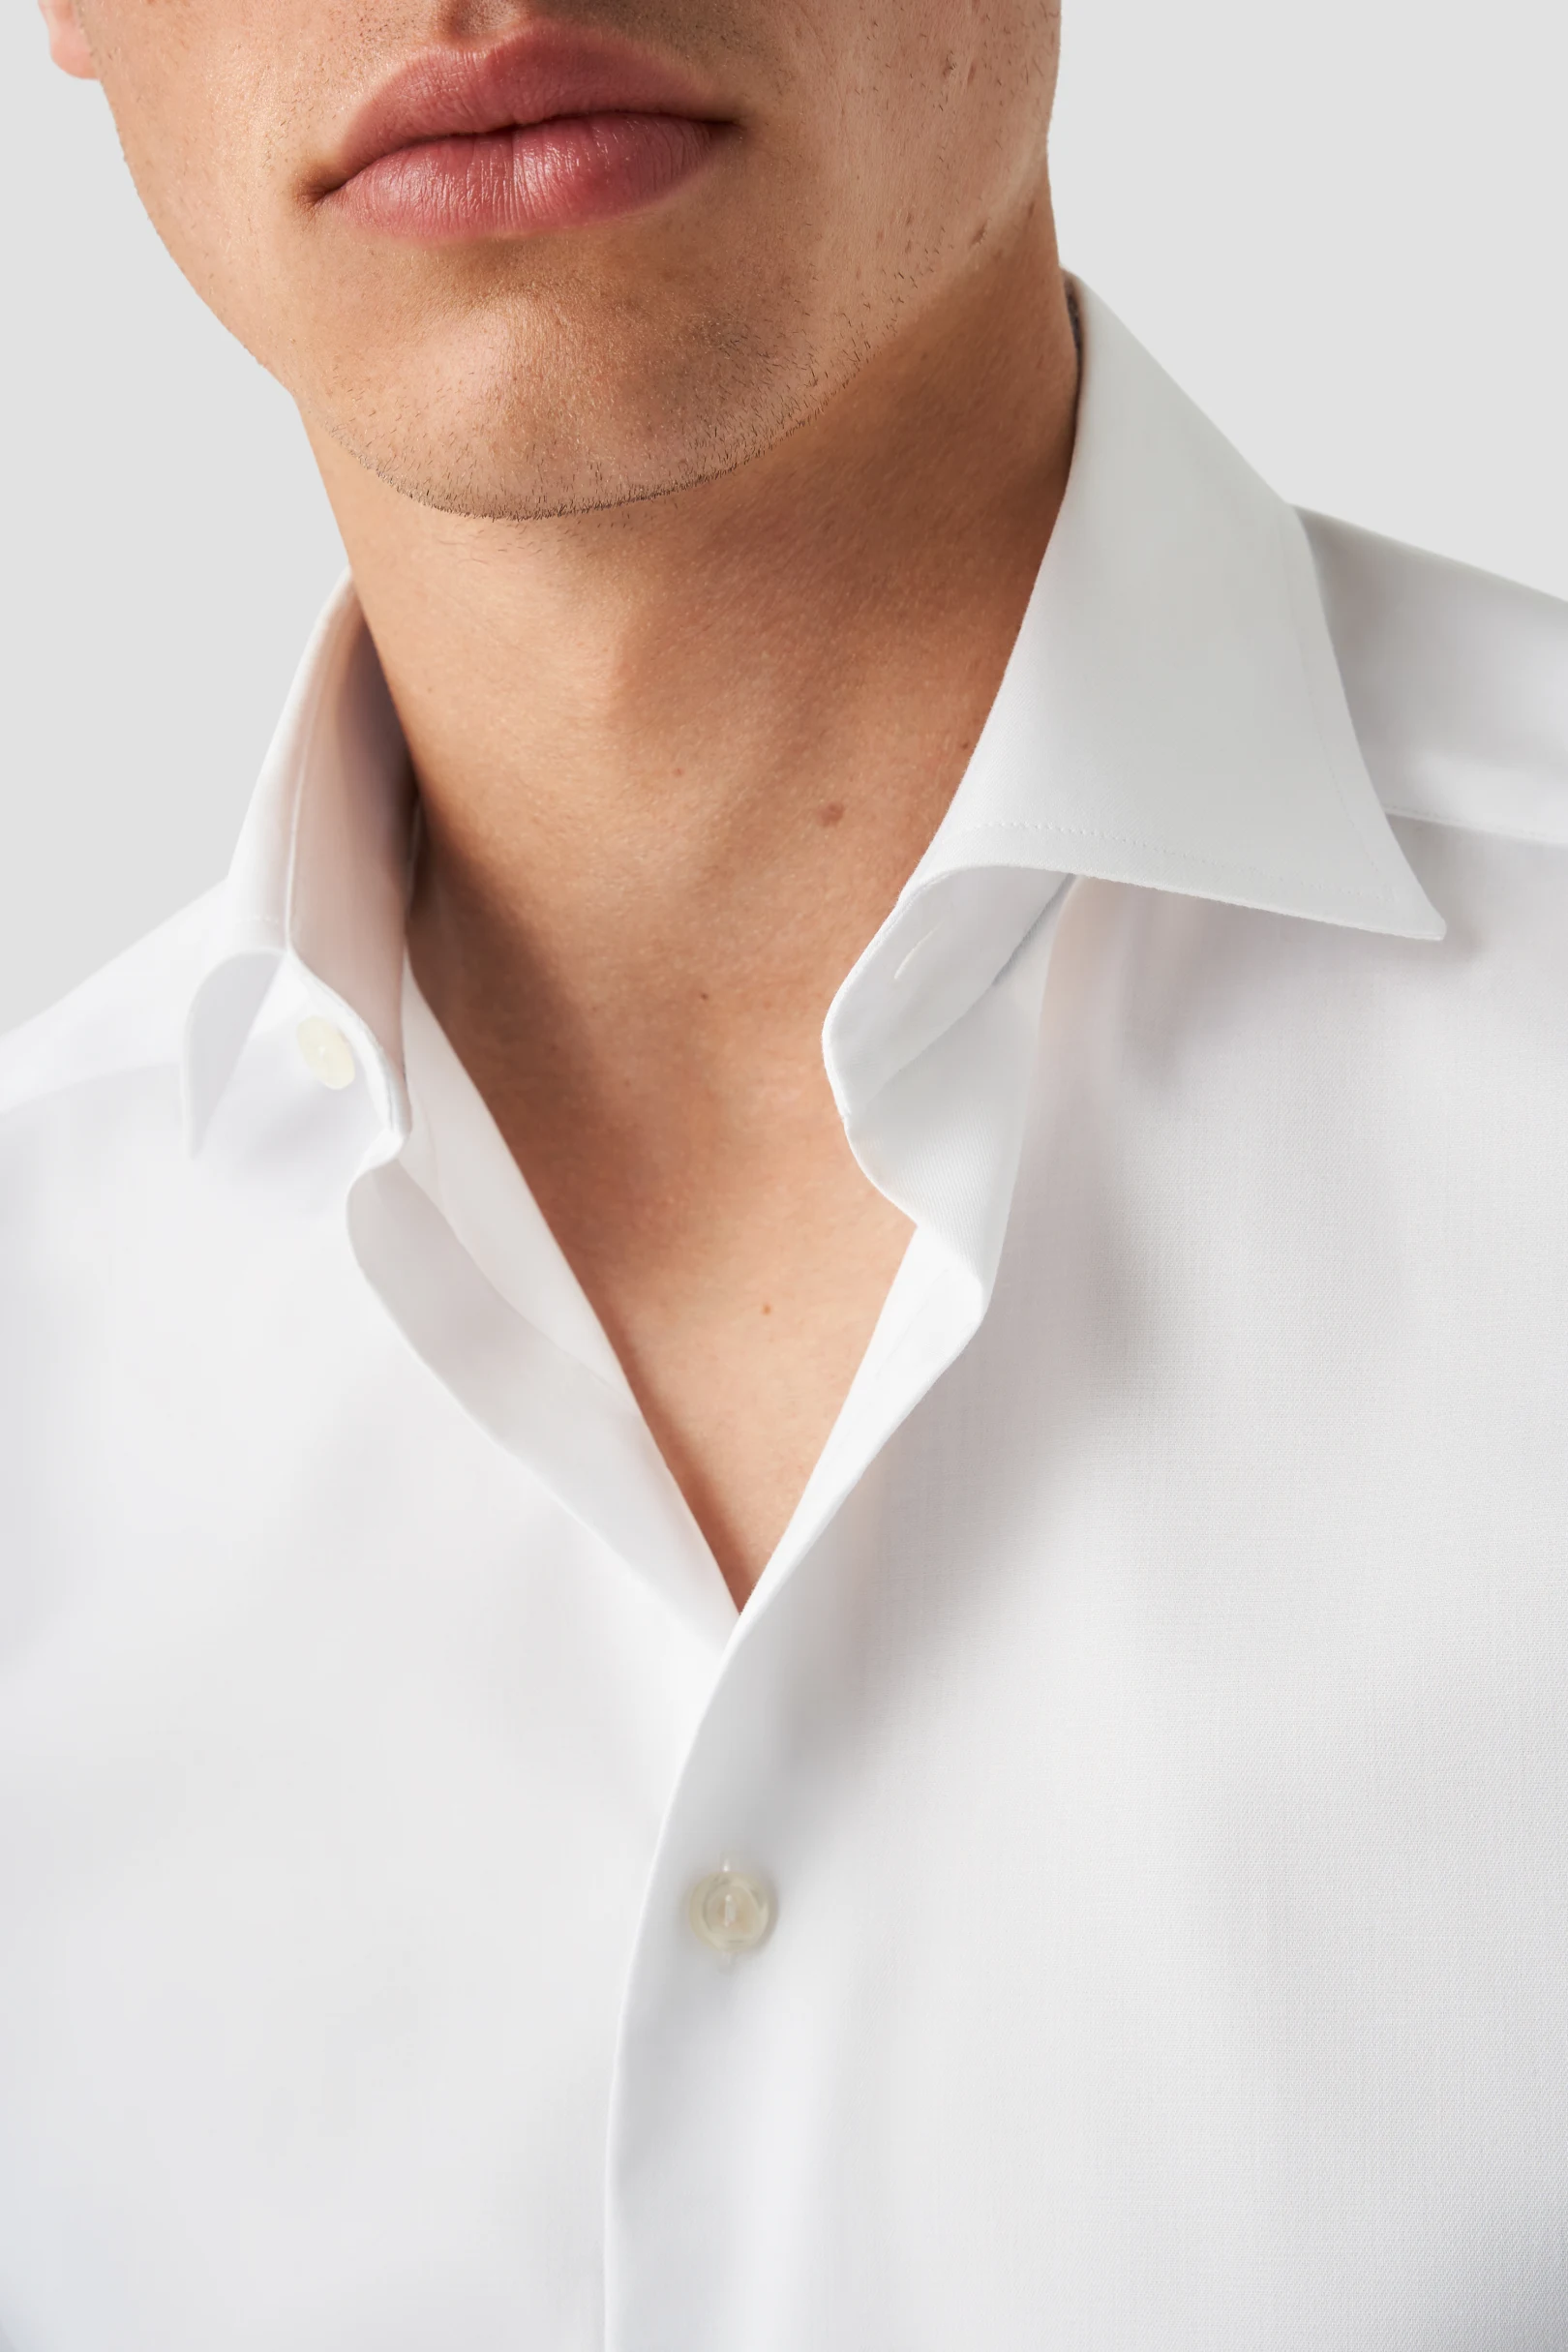
Typically, people aim to remove the collar entirely, along with the collar stand – that little band of fabric that holds the collar up. You want to cut just below this stand, where it joins the main body of the shirt. This usually gives you a nice, clean, collarless opening, which is what most folks are after, I mean.
Take your ruler and lay it across the shirt, right where you want that new edge to be. Make sure it’s straight and even all the way across. You might want to measure from the shoulder seam down on both sides to ensure symmetry. This is a very good way to keep things balanced, too.
Once your ruler is in position, use your tailor’s chalk or fabric marker to draw a clear line. This line is your cutting guide, so make it visible but not too thick. You want to be able to follow it precisely, after all. This is the path your cutting tools will take, so.
It’s a good idea to draw the line on the inside of the shirt, or at least on a part that won't be visible if you make a tiny mistake. Some people prefer to mark on the outside, which is fine, but just be sure your marking tool is truly erasable. You don't want any lingering marks, anyway.
Double-check your line. Step back, look at it from a distance. Does it look straight? Is it where you really want it? This is your last chance to adjust before the actual cutting begins, so take your time. It’s better to be sure now than to wish you had later, honestly.
The Initial Snip in Your Collar
With your guide line drawn, it's time for the actual cutting. Pick up your sharp cutting tools. Hold the fabric steady with one hand, making sure it’s smooth and flat, without any bumps or folds. You want a very even surface for this part, basically.
Start your cut at one end of your marked line. Make a small, careful snip to get things going. Don't try to cut the whole thing in one big sweep, especially if you're not used to cutting fabric. Short, controlled movements are your friend here, you know.
Slowly and steadily, follow your marked line all the way across the shirt. Keep your cutting tools right on that line, making sure your cuts are smooth and continuous. It’s like drawing a line, but with a pair of shears instead of a pen, so.
As you move along, try to keep the blades of your cutting tools as flat against the fabric as possible. This helps prevent jagged edges and gives you a much cleaner separation. It’s about letting the tools do the work, in a way, rather than forcing them.
When you reach the other side, you should have a neat, collarless opening. Take a moment to admire your work. It might not be absolutely perfect on the first try, and that's perfectly fine. The goal is a functional and improved garment, after all.
If you see any small, stray threads or slightly uneven spots, you can go back with your cutting tools and carefully trim them away. Just be very gentle and only take off tiny bits at a time. You don't want to accidentally make a bigger cut than you intended, right?
Are There Different Styles When You Cut the Collar of a Shirt?
When you think about changing a shirt by removing its neckband, you might just picture a simple, round opening. But actually, there are a few different ways you can approach this, giving your shirt a slightly different feel depending on what you’re going for. It's kind of interesting, you know, how a small change can make a big difference.
The most common approach is to create a true collarless look, where the neckline is a smooth, unadorned circle. This is often called a crew neck or a band collar if you leave a very small, flat piece of the original stand. This is pretty popular for a casual vibe, you see.
Another option is to create a V-neck. This involves cutting the front of the shirt in a V shape, which can be a bit more challenging to get symmetrical. It offers a different kind of openness and can be quite flattering, especially for certain styles. It just gives a different feel, basically.
You could also consider leaving a very small, flat band around the neck, sometimes called a "mandarin" or "banded" collar, if you only remove the top part of the original collar and leave the stand. This requires a very precise cut and often some sewing to finish the edge nicely, so.
Some people even choose to cut a wider, boat-neck style, which extends further across the shoulders. This is a much more open neckline and can give a very relaxed, almost artistic feel to a shirt. It’s a bit more of a statement, you know.
The key is to think about the overall look you want to achieve before you start cutting. Sketching it out on paper, or even drawing on the shirt with your chalk, can really help you

Detail Author:
- Name : Prof. Randall White IV
- Username : qgleason
- Email : ralph.thompson@paucek.org
- Birthdate : 2006-10-10
- Address : 40642 Skiles Wells Marktown, AZ 69259
- Phone : +1-640-505-3877
- Company : Satterfield, Wintheiser and Thompson
- Job : Dredge Operator
- Bio : Voluptate eligendi voluptas nam voluptatum quisquam. Nostrum voluptatem sed quasi quo ut. Adipisci non nulla perspiciatis eaque eos. Voluptatem dolore nobis excepturi nulla voluptatum.
Socials
linkedin:
- url : https://linkedin.com/in/everettetillman
- username : everettetillman
- bio : Sunt rerum aperiam sunt accusantium.
- followers : 1790
- following : 99
instagram:
- url : https://instagram.com/tillman2024
- username : tillman2024
- bio : Sequi cupiditate voluptatem aliquam dolore veritatis consequatur. Eos at illo omnis impedit.
- followers : 2320
- following : 1317
