How To Paint A Graduation Cap - Your Creative Guide
That special day, the one you have worked so hard for, is just around the corner. It is a moment of celebration, a time to feel proud of all your achievements. You have earned this, and there is something truly special about making your graduation day uniquely yours. One wonderful way to do that, you know, is by adding a personal touch to your graduation cap.
Think about it: your cap can become a little canvas, reflecting your personality, your memories, or even your plans for what comes next. It is a chance to show off your creativity and stand out in the crowd, in a way that feels just right for you. People often say it is one of the most memorable parts of the ceremony, seeing all the different designs. So, why not make yours something truly memorable?
This guide will walk you through the steps to bring your vision to life, from planning your design with some handy digital help to putting paint on the cap itself. We will talk about tools that can make the design part much simpler, and then move on to the actual painting. It is almost like having a blueprint before you build something, which can be very helpful.
- Kendall Jenner Tongue
- Abby Rao Boobs
- Dobre Brothers House Address Google Maps
- Chennedy Carter Gay
- Different Strokes For Different Folks Future
Table of Contents
- Why Plan Your Design for Painting a Graduation Cap?
- Getting Started with Your Digital Design Tool for How to Paint Graduation Cap
- Putting Your Ideas to the Test - How to Paint Graduation Cap with Digital Layers
- Making Changes and Experimenting for Your How to Paint Graduation Cap Design
- What Kind of Paint and Supplies Do You Need for Painting a Graduation Cap?
- How Do You Prepare Your Cap for Painting a Graduation Cap?
- Are There Any Special Tricks for Painting a Graduation Cap?
Why Plan Your Design for Painting a Graduation Cap?
Before you even think about picking up a paintbrush, it is usually a good idea to have a clear picture of what you want your cap to look like. This planning phase can save you a lot of trouble later on, honestly. Imagine trying out different ideas directly on the cap and then realizing something just does not quite work; that could be a bit messy. This is where a digital tool can come in handy, sort of like a practice space. We will be talking about a specific application that can help you lay out your thoughts and see them before you make them permanent.
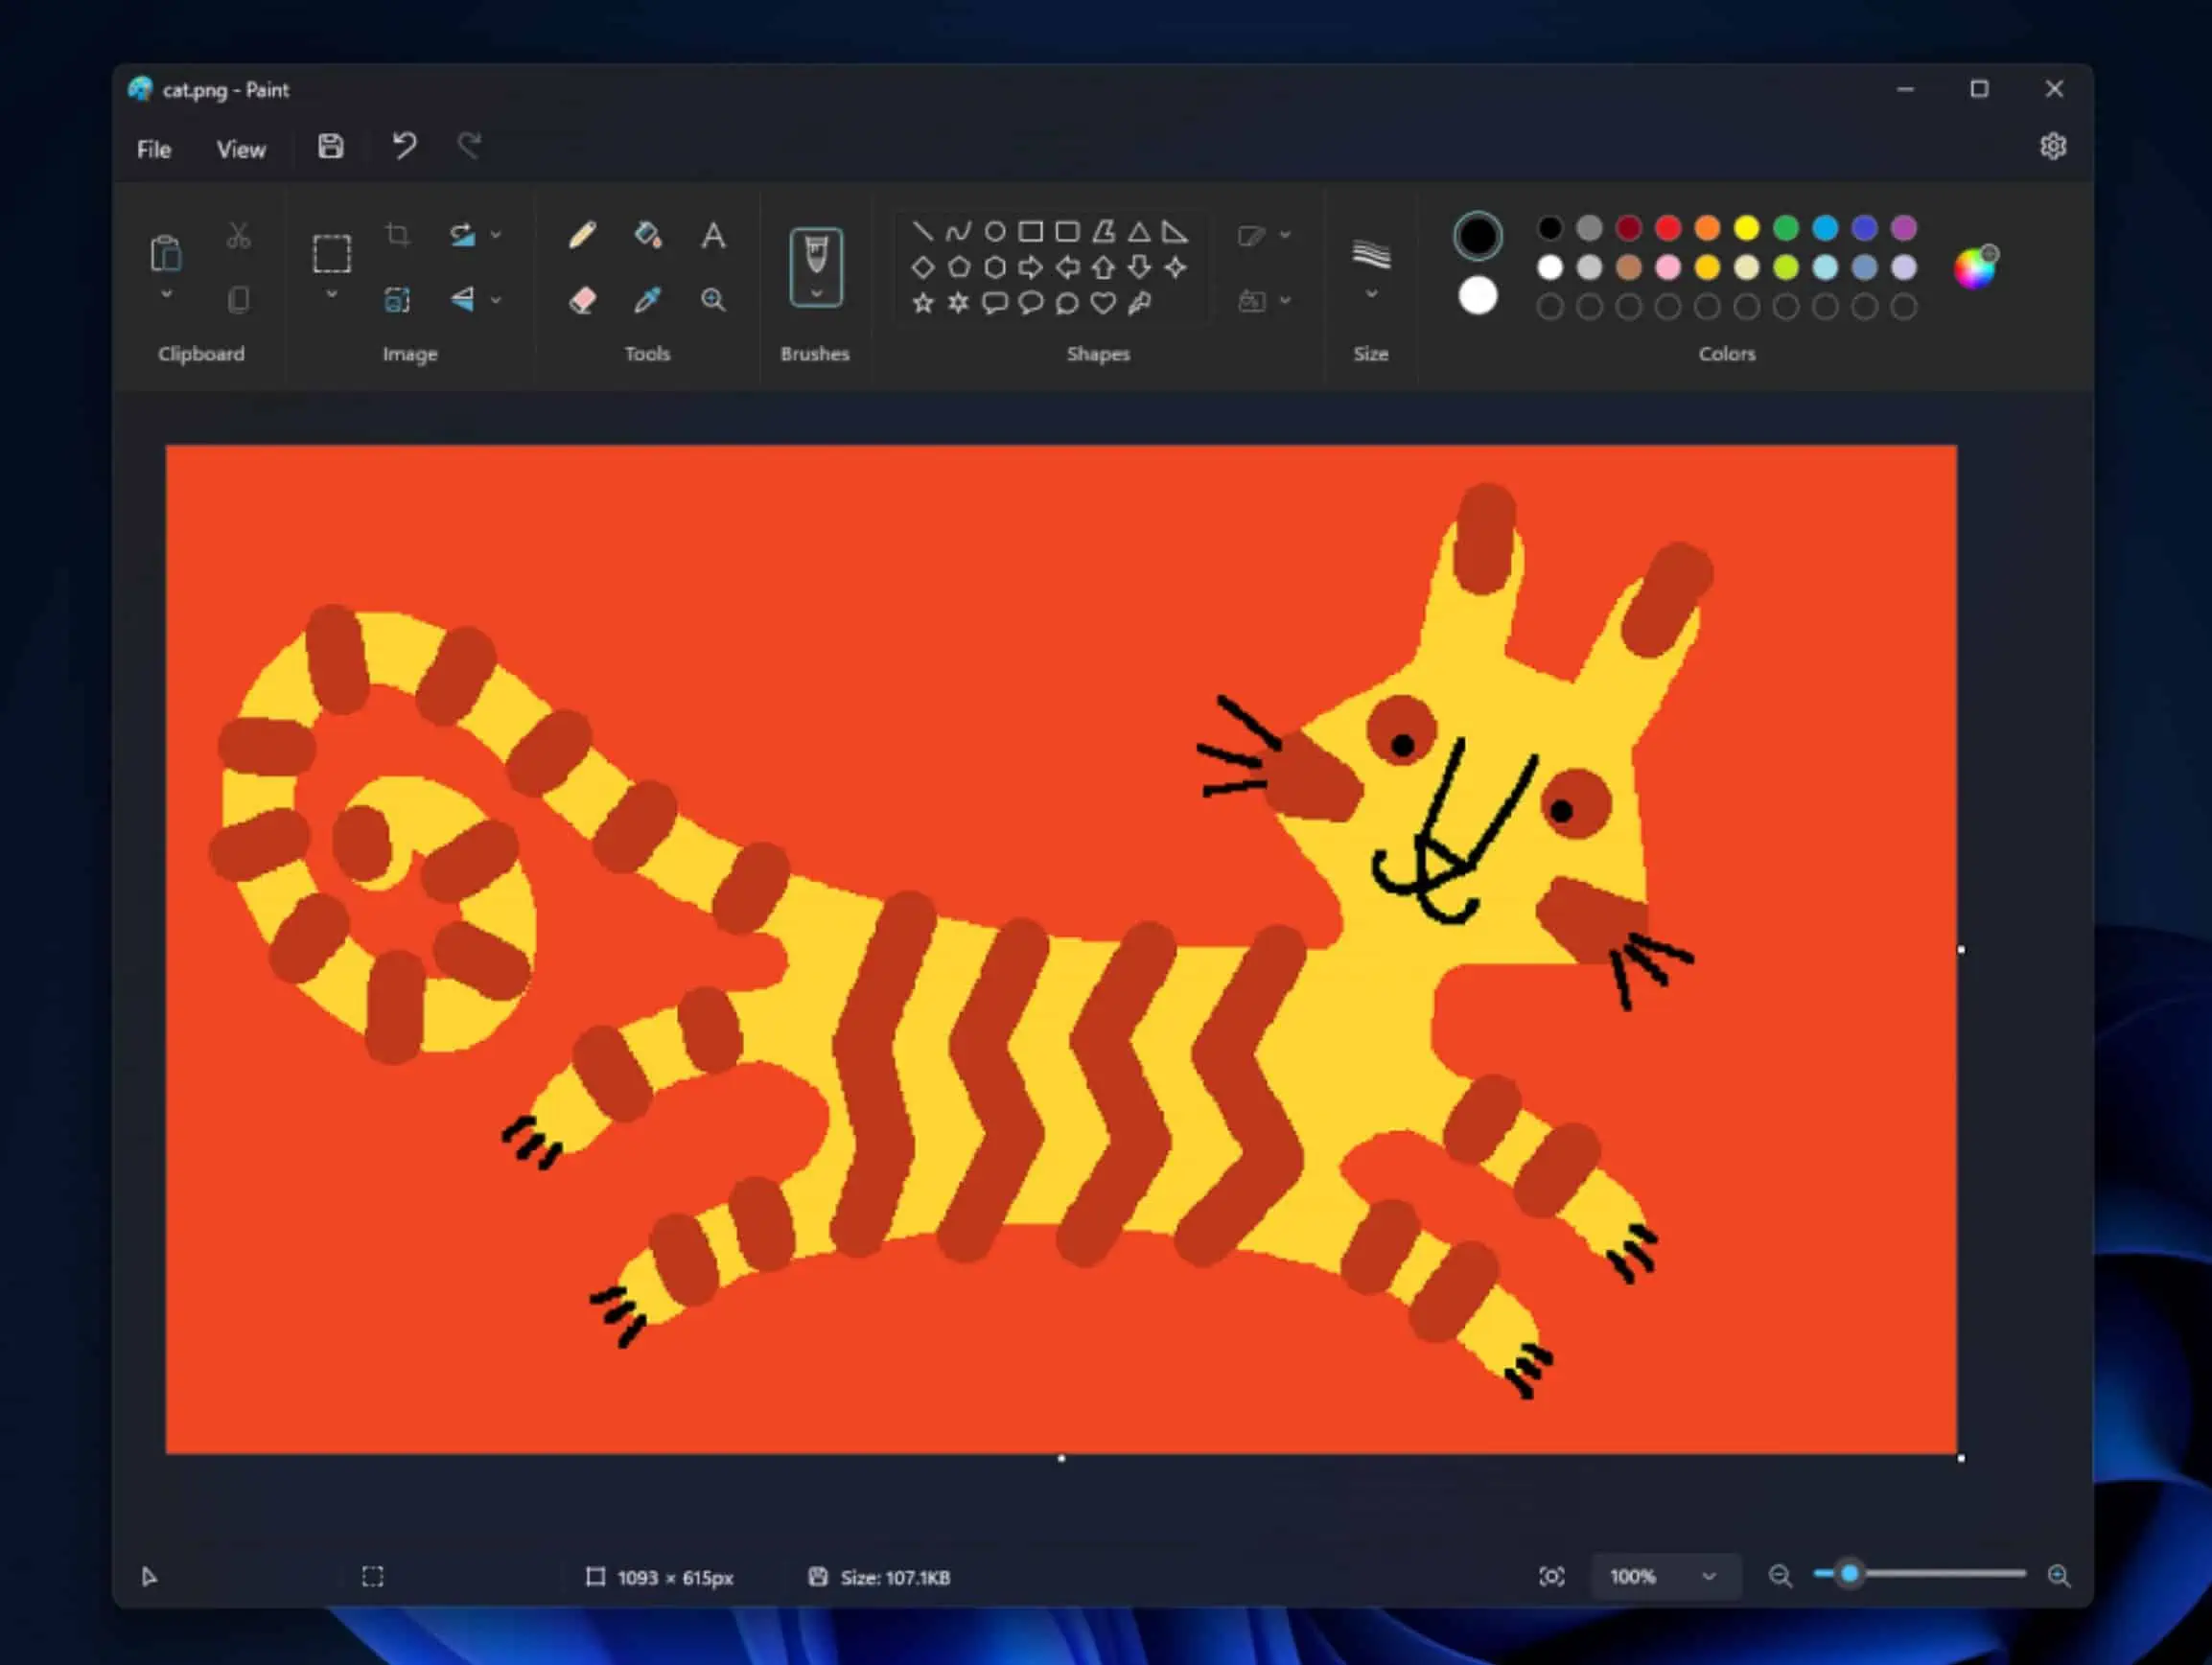
The application we are referring to, which is quite helpful for this sort of visual planning, is a good choice for Windows users. It is an image and photo editing program for personal computers that run on the Windows system. This particular program comes with a setup that just makes sense, something new and fresh to work with. It offers support for putting different elements on top of each other, which is really useful for separating your design parts. You can also go back as many steps as you need, which is a lifesaver when you are trying out new things. Plus, it has some ways to change how things look, which can spark some great ideas for your cap. So, getting your thoughts down digitally first can make the actual painting process much smoother.
Getting Started with Your Digital Design Tool for How to Paint Graduation Cap
To begin your digital design process, you will first need to get the application onto your computer. The simplest way to do this, and what is generally suggested, is to find the installer on the program's main internet spot. If you do not have this particular image editing tool on your computer yet, this is the version you will want to get. It is also quite useful if you already have the program but want to make sure it is up to date. This download can help you get the latest features and fixes, which is pretty important for a smooth design experience. So, checking for the most recent version is a good first step.
- Cat Sitting Gay
- I Wish Italians Were Real
- Juliette Porter And Clark Drum Still Together
- Bald Taylor Swift
- Desi Wife Cheating
When you get the installer, it will need to unpack the necessary pieces for the program to be put on your computer. This part of the process involves getting all the files ready. Once those files are taken out and prepared, the actual putting of the program onto your computer will begin. It is a straightforward process, typically guiding you through each step. There are, in fact, two different versions of this program you might find. One is usually found through the Microsoft Store, and this version is generally the one that is recommended for most people. It often has some extra ways of dealing with common computer quirks, which can make things a little easier for you.
Keeping your design tool updated is also a pretty good idea. For example, there was a recent update that mainly fixed some small issues, like problems with installation on certain computer systems often used in larger networks. It also took care of a few small bugs, including visual disturbances that some users with specific graphics cards might have seen. This kind of update should also help with reports of screens going blank on some systems, which, you know, can be really frustrating when you are trying to create something. These updates are usually just about making sure everything runs as smoothly as possible for your creative work, making your experience with how to paint graduation cap much better.
Putting Your Ideas to the Test - How to Paint Graduation Cap with Digital Layers
One of the best features of this digital design tool, especially for planning your graduation cap, is its ability to use layers. Think of layers like clear sheets of plastic that you can draw on, one on top of the other. You can put your background color on one layer, your main image or logo on another, and your text on a third. This way, if you want to change the color of your background, you do not have to redraw your image or text. You can simply adjust that one layer. This method gives you a lot of freedom to move things around, resize them, or change their appearance without messing up other parts of your design. It is, frankly, a very clever way to organize your creative thoughts.
This layering capability also helps you visualize how different elements will interact on your actual cap. You might want to try out a few different fonts for your graduation year, or perhaps see how a certain picture looks when placed in various spots. With layers, you can turn elements on and off, or adjust their transparency, to get a better feel for the overall look. This means you can experiment with multiple ideas for how to paint graduation cap without committing to anything too soon. It is a bit like sketching out your ideas, but with the added benefit of being able to erase and rearrange things with ease, which is really helpful.
The program also has a feature that lets you create smooth shifts between colors, often called a gradient tool. This has been noted as a very useful addition, making it easier to blend colors seamlessly. If you are thinking of having a sunset effect on your cap, or perhaps a gentle fade from one color to another, this tool can help you see how that might look before you pick up your brushes. It is a good way to get a sense of color transitions and how they will appear on your finished piece. You can play around with different color combinations and directions for the fade, giving you a clear picture of your cap's potential appearance, which is pretty neat.
Making Changes and Experimenting for Your How to Paint Graduation Cap Design
Another truly helpful aspect of this design program is its ability to let you undo any action, pretty much without limit. This means you can try out different ideas, make a mistake, and simply go back a step or twenty, without any worries. It is like having an endless supply of "do-overs," which is a huge relief when you are trying to be creative. This freedom to experiment is really important when you are planning something as personal as your graduation cap. You can try out bold color schemes, different arrangements of elements, or even completely new themes, knowing you can always revert if it does not quite hit the mark. This capability is, frankly, one of the best parts for a creative person.
The program also offers a range of special effects that you can play with. While you might not apply these exact digital effects to your physical cap, they can certainly inspire ideas for textures, patterns, or visual flair. For instance, you might use a blur effect on a digital element to decide if you want a softer, more dreamlike look for a part of your cap. Or, you could try out a distortion effect to see if a certain wavy pattern would work for your background. These effects serve as a fantastic brainstorming tool, helping you think outside the box for your how to paint graduation cap design. They really open up possibilities for your visual thinking.
There is also a feature that lets you replace parts of an image with pixels that look similar from the surrounding areas. This is often called "content-aware filling." While you might not use this directly for painting, it is incredibly useful if you are working with scanned sketches or images you want to incorporate into your digital plan. If you have a small mark or an unwanted detail in your scanned drawing, this tool can often make it disappear quite cleanly, allowing you to refine your digital blueprint. This means your digital design can be as perfect as possible before you even consider putting paint on your actual cap, which is a great advantage.
A note on how the program works behind the scenes: it uses your computer's storage space to keep temporary files. These files are related to all those undo and redo steps you take. Because of this, the actual amount of storage space you will need really depends on how many actions you perform on an image and how complex those actions are. If you are doing a lot of detailed work and making many changes, the program will need more temporary space. It is something to keep in mind, especially if you are working on a very intricate design for your how to paint graduation cap. Just make sure you have enough room on your hard drive for all your creative explorations.
What Kind of Paint and Supplies Do You Need for Painting a Graduation Cap?
Once your digital design is all set, it is time to think about the physical materials. Choosing the right paint is pretty important for a lasting and vibrant design. Acrylic paints are usually a good choice for painting on fabric like a graduation cap. They are water-based, which means they are easy to clean up with water before they dry, and they dry relatively quickly. They also offer a good range of colors and tend to stick well to surfaces. You will want to pick up a few different brush sizes, too, from very fine ones for details to broader ones for filling in larger areas. A small palette or a paper plate for mixing colors is also very useful, obviously.
Beyond paint and brushes, you will need a few other things. A pencil for sketching your design onto the cap first is essential, as is an eraser. You might also want some painter's tape to create clean lines or to protect areas you do not want to get paint on. A ruler can help with straight lines or measuring out elements. And, of course, a good surface to work on that you do not mind getting a little messy, perhaps covered with newspaper or an old sheet. Having all your supplies ready before you start can make the whole process much more enjoyable and less stressful, you know.
How Do You Prepare Your Cap for Painting a Graduation Cap?
Preparing your cap properly is a step that often gets overlooked, but it is actually quite important for a good outcome. First, make sure your cap is clean and free of any dust or lint. A quick brush-off or a gentle wipe can do the trick. Next, you will want to consider how to keep the cap flat and stable while you work. Some people place a piece of cardboard inside the cap to give it a firm surface to paint on. This also helps prevent paint from seeping through to the inside of the cap, which is a smart move.
Once the cap is stable, you can lightly sketch your design onto the surface using a pencil. This is where your digital design comes in handy; you can use it as a reference. Do not press too hard with the pencil, just enough so you can see your lines. If you are using tape for straight edges or specific shapes, apply it carefully now. Make sure the edges are pressed down firmly to prevent paint from bleeding underneath. Taking your time with this preparation phase will really pay off when you start applying paint, ensuring your how to paint graduation cap design looks crisp and professional.
Are There Any Special Tricks for Painting a Graduation Cap?
When it comes to the actual painting, remember the layers you used in your digital design. You will want to apply your paint in thin, even coats. It is usually better to apply two or three thin coats than one thick one, as thick coats can crack or peel. Let each layer dry completely before adding the next, especially if you are painting different colors next to each other. This patience helps prevent colors from mixing where you do not want them to, which can be pretty frustrating if it happens.
For fine details, use your smallest brushes and take your time. A steady hand is key here. If you are adding text, you might want to outline it first with a very fine brush or a paint pen before filling it in. This gives you more control. For larger areas, a slightly bigger brush will help you cover the space more evenly. Remember, just like with the digital tool, if you make a small mistake, you can often gently wipe it away with a damp cloth if the paint is still wet. But once it dries, it is much harder to fix, so be careful. This attention to detail will really make your how to paint graduation cap stand out.
After your paint has completely dried, which might take several hours or even overnight depending on the thickness, you might want to consider adding a sealant. A clear, matte or glossy spray sealant designed for crafts can protect your design from smudges, water, and general wear and tear. This is an optional step, but it can help your hard work last longer. Just make sure to apply the sealant in a well-aired area and follow the product's instructions carefully. This final touch helps ensure your creative expression stays looking great on your special day.
This article has covered how to plan your graduation cap design using a digital tool like Paint.NET, discussing its features such as layers, unlimited undo, special effects, gradient tools, and content-aware filling, alongside information on installation and updates. It also provided guidance on selecting the right paints and supplies, preparing your cap for painting, and practical tips for applying paint and finishing your unique graduation cap artwork.
Detail Author:
- Name : Glenna Ledner
- Username : dooley.craig
- Email : kovacek.geoffrey@gmail.com
- Birthdate : 1979-10-09
- Address : 407 Donny Oval Ramonaland, RI 36124
- Phone : 1-657-275-9777
- Company : Gusikowski-Dooley
- Job : Agricultural Product Grader Sorter
- Bio : Nostrum at sapiente aut ut rerum sit. Commodi debitis minus quos optio est. Sed suscipit sunt itaque quas cum quia. Culpa saepe ut dolor.
Socials
tiktok:
- url : https://tiktok.com/@jaeden6087
- username : jaeden6087
- bio : Voluptas harum laboriosam autem voluptatem optio praesentium modi.
- followers : 425
- following : 634
instagram:
- url : https://instagram.com/schuster1985
- username : schuster1985
- bio : Harum dignissimos praesentium et nulla. Sit cum architecto dolorem. At aspernatur beatae est esse.
- followers : 2006
- following : 2705
facebook:
- url : https://facebook.com/schuster2004
- username : schuster2004
- bio : Voluptatem et quia qui dolore in sit.
- followers : 5911
- following : 2640
linkedin:
- url : https://linkedin.com/in/schuster1997
- username : schuster1997
- bio : Nostrum mollitia earum vitae.
- followers : 5985
- following : 472
twitter:
- url : https://twitter.com/jschuster
- username : jschuster
- bio : Omnis unde ab sunt debitis. Non numquam ullam exercitationem qui et. Odit iste placeat aspernatur eius est assumenda.
- followers : 5284
- following : 1575
