How To Make Flowers On Nails - A Simple Guide
Picture this: your fingertips blooming with tiny, lovely flowers, each petal a little piece of art that tells a story of personal style and creativity. It's a wonderful way, you know, to express yourself and add a truly unique touch to your look, making your hands feel a bit more special. You might think it's a super complicated thing to do, but it's actually more approachable than you'd expect, perhaps even something you could enjoy doing on a quiet afternoon.
Many folks, it seems, are looking for ways to bring a little extra charm into their everyday, and what better spot than right there on your nails? Whether you're getting ready for a special event or just want to brighten up a typical day, these small floral designs can really make a difference, giving your hands a delightful, fresh appearance. It's like having a tiny garden right at your fingertips, so pretty.
So, if you've ever wondered how to achieve these pretty designs yourself, or perhaps thought it was just for professional artists, then you're in the right spot. We're going to chat about the simple steps involved, some handy tools, and a few clever tricks to help you create beautiful flower patterns on your nails, giving you that lovely, artistic finish.
- I Still See Your Shadows In My Clubhouse
- Cheez It Recall
- Cece Aviles Passed Away
- I Was Busy Thinking About Bakugou
- Jax The Ripper Arrested
Table of Contents
- Getting Started - What You'll Need for Your Floral Nail Art
- Preparing Your Canvas - The First Step to How to Make Flowers on Nails
- Which Tools Help You Create Floral Designs?
- Choosing Your Colors - A Key Part of How to Make Flowers on Nails
- Simple Techniques for Drawing Flowers on Nails
- Dotting Tool Magic - An Easy Way to Make Flowers on Nails
- How Can You Make Your Nail Flowers Last Longer?
- Troubleshooting Common Challenges When You Make Flowers on Nails
Getting Started - What You'll Need for Your Floral Nail Art
Before you begin painting those pretty blossoms, it's a good idea to gather all your bits and pieces, you know, so everything is within easy reach. You'll want to have a good selection of nail polish shades, especially some lighter and darker ones for petals and centers. A clear top coat is also going to be super important for finishing your work and helping it stay put. Having a small dish or a piece of foil for mixing colors, or just for dabbing off extra polish, can be really helpful, too it's almost a must-have for keeping things tidy.
Beyond the polish itself, you'll also want to make sure your nails are ready for their artistic transformation. This means having nail polish remover on hand, just in case of little mistakes or if you want to start fresh. Cotton pads or swabs are also good for cleaning up any stray polish around the edges of your nail. A good light source is pretty essential, actually, as it helps you see the tiny details you'll be creating, making the whole process a lot smoother.
Preparing Your Canvas - The First Step to How to Make Flowers on Nails
Getting your nails ready is a pretty big deal, you know, for any kind of design, and it's certainly the very first step in how to make flowers on nails that look their best. Start by making sure your nails are clean and dry; any oils or old polish can prevent your new design from sticking properly. You might want to gently push back your cuticles and shape your nails a little bit, giving you a nice, even surface to work on, which is quite important.
- Different Strokes For Different Folks Future
- Katysancheskiii1 Videos Cristianos
- Stone Face Game
- Adamari L%C3%A3pez Murio
- Gay Teens Wrestling
After that, applying a base coat is a really smart move, in a way. This clear layer helps protect your natural nail from staining, especially with brighter or darker polishes, and it gives the colored polish something better to cling to. Let that base coat dry completely, so, before you move on to your chosen background color. A smooth, even base is like a fresh canvas for a painter, setting the stage for your beautiful floral artwork, basically.
Which Tools Help You Create Floral Designs?
When it comes to putting those tiny flowers onto your nails, having the right little helpers can make all the difference, really. You don't necessarily need a whole professional kit to start, but a few specific items can make the job much easier and the results much prettier. One of the most popular tools is a dotting tool, which is basically a small stick with a tiny ball at the end. These come in various sizes, so, letting you create dots of different dimensions, which are perfect for flower petals or centers.
Another useful item, you know, is a fine-tipped brush, sometimes called a striper brush. These brushes have very thin bristles, allowing you to draw delicate lines and small, intricate shapes like flower stems or individual petals with a bit more control. For very small details, a toothpick can even work in a pinch, especially if you're just starting out and want to experiment without buying too many specialized things. Cotton swabs or a small brush dipped in nail polish remover are also good for cleaning up edges, giving your design a crisp, finished look.
Choosing Your Colors - A Key Part of How to Make Flowers on Nails
Picking out the right shades for your flower designs is, frankly, a lot of fun and really helps bring your vision to life. Think about the kind of flowers you want to create; perhaps bright, cheerful daisies or soft, romantic roses. You'll generally want a background color for your nail, and then at least two or three different shades for the flower itself – maybe one for the petals, another for the center, and perhaps a third for some accent details. Lighter shades tend to pop more on darker backgrounds, and vice versa, which is something to consider.
Don't be afraid to experiment with combinations, you know. A classic choice might be white petals on a pastel base, or perhaps a vibrant red flower on a neutral background. You could also try different shades of the same color for a more subtle, layered effect, like various pinks for a rose. Having a small palette, like a piece of wax paper or an old plastic lid, to mix a tiny bit of polish can also help you create custom shades, giving your flowers a truly unique appearance, honestly.
Simple Techniques for Drawing Flowers on Nails
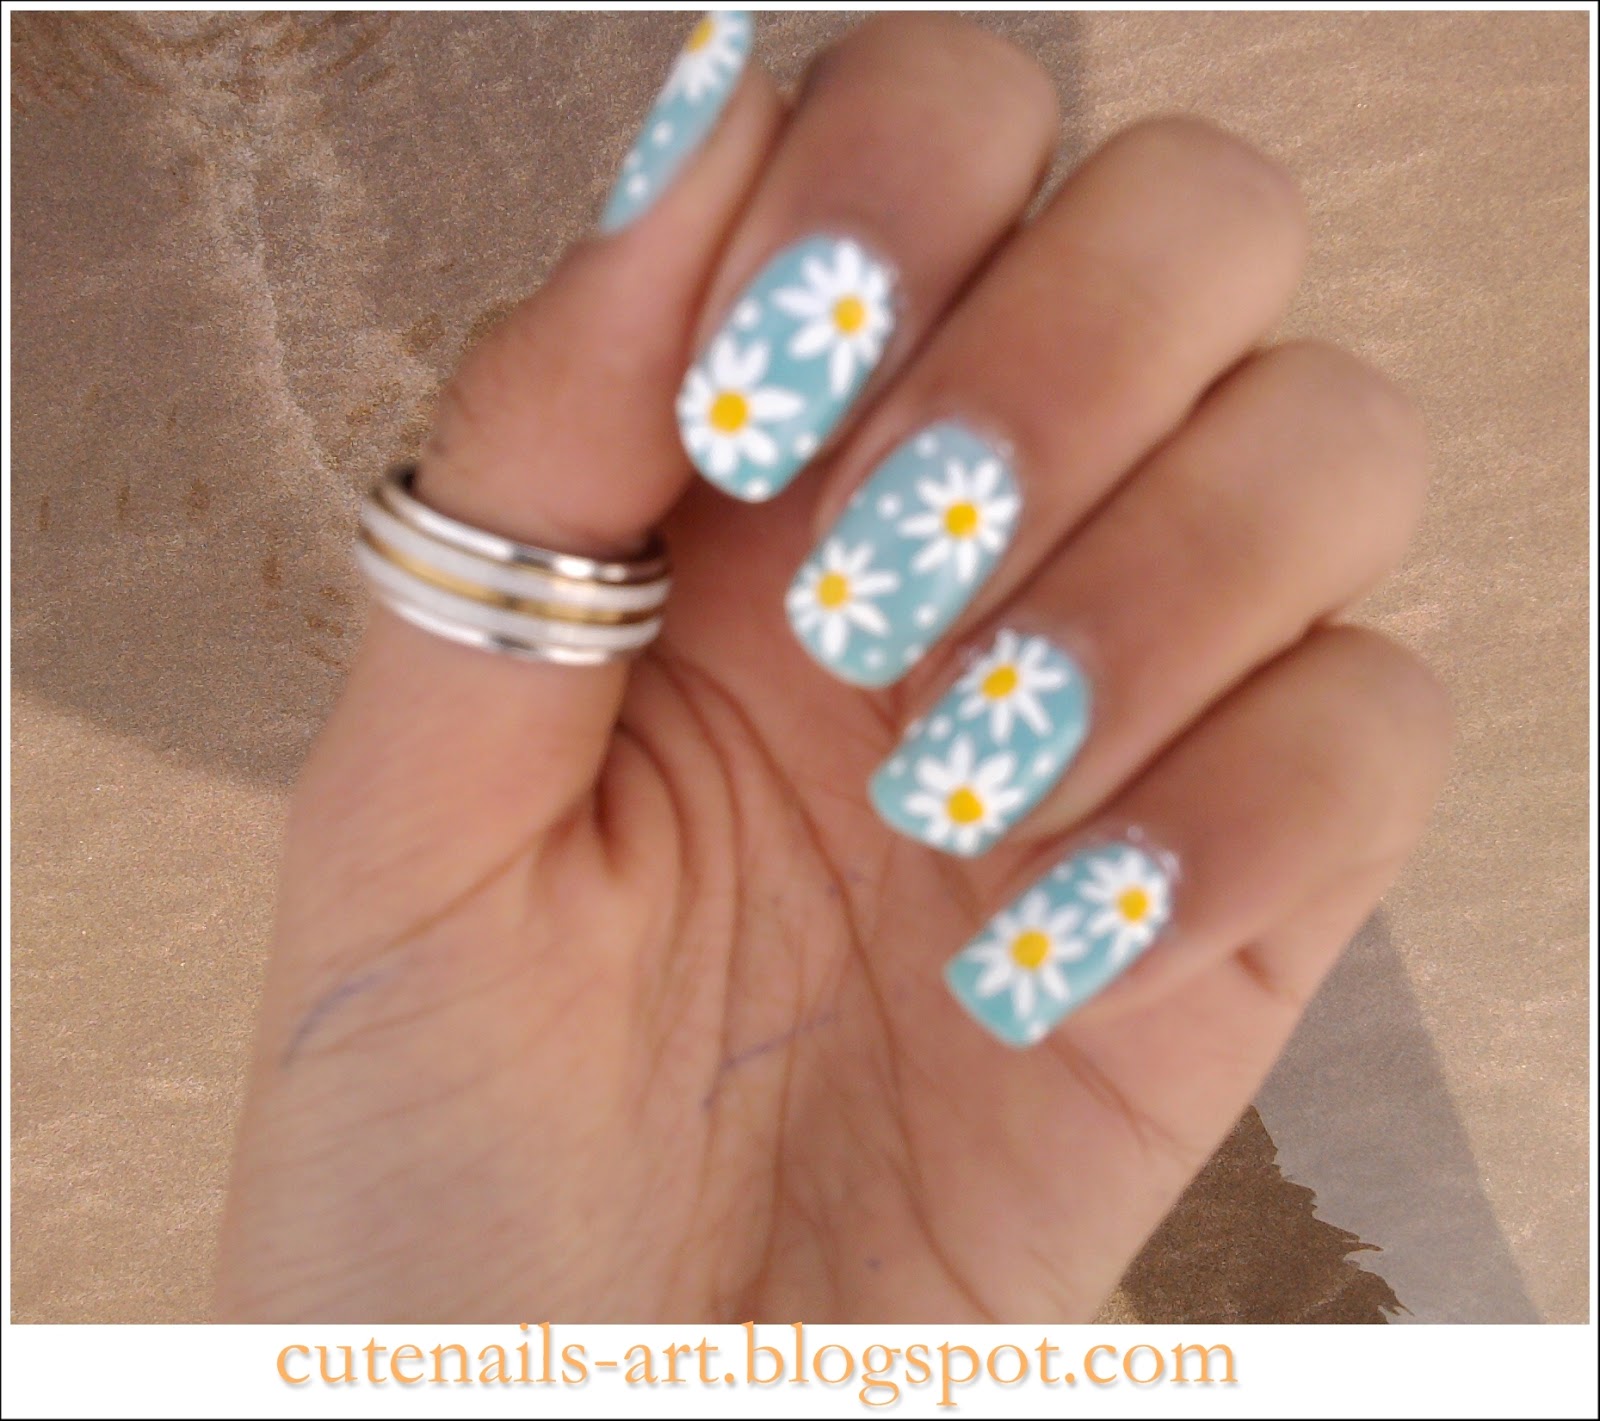
Creating flower designs on your nails might seem a bit tricky at first glance, but there are some really straightforward methods that anyone can try, you know. One very basic approach involves using a dotting tool or even the tip of a bobby pin to place five small dots in a circle, and then a sixth dot right in the middle. This instantly forms a simple, charming flower shape, which is a great starting point for beginners, basically. You can vary the size of the dots to make bigger or smaller petals, or even use different colors for each dot.
Another simple way is to use a fine brush to paint a small, rounded shape for the main part of the flower, and then add a few tiny lines or strokes around it to suggest petals. You don't have to be an amazing artist to make these look good; often, a slightly imperfect, hand-drawn feel adds to the charm. For a bit more detail, you could try painting two small, curved lines that meet at a point to form a petal, and then repeat this a few times around a central spot. Remember, practice makes things easier, so don't worry if your first few attempts aren't exactly what you pictured.
Dotting Tool Magic - An Easy Way to Make Flowers on Nails
The dotting tool is, honestly, a real gem for anyone wanting to create flower designs on their nails without too much fuss. It's incredibly simple to use and allows for a lot of variation. To make a basic flower, just pick up a small amount of polish on the tip of your dotting tool. Then, gently place five dots in a circle on your nail, forming the petals. After that, you can use a smaller dotting tool, or even the same one with a different color, to place a single dot in the very center of your circle of petals, which forms the heart of your flower, pretty much.
You can experiment with different sizes of dotting tools to create various flower types. For example, using a larger dotting tool for the petals and a smaller one for the center gives a nice contrast. You can also drag the dots slightly inwards towards the center before they dry completely, which can create a more pointed petal shape, giving the flower a slightly different look. This technique is very forgiving, you know, and lets you quickly build up a lovely floral pattern with minimal effort, making it a favorite for how to make flowers on nails that are quick and cute.
How Can You Make Your Nail Flowers Last Longer?
After you've put in the effort to create those pretty flower designs on your nails, you'll naturally want them to stick around for a while, you know? The key to making your nail art last longer really comes down to a few simple steps that protect your work. First off, make sure each layer of polish, from your base coat to your colors, is completely dry before you add the next. Rushing this step is a common reason for smudges and chips, so patience is, like, pretty important here.
Once your flower design is fully dry, applying a good quality top coat is absolutely crucial. This clear layer acts as a protective shield, sealing in your design and guarding it against everyday wear and tear. You might even want to apply two thin layers of top coat for extra durability, making sure to cap the free edge of your nail, which means painting a little bit of the top coat over the very tip of your nail to prevent chipping from the edge. Reapplying a thin layer of top coat every couple of days can also help extend the life of your nail art, keeping those flowers looking fresh and bright for longer, basically.
Troubleshooting Common Challenges When You Make Flowers on Nails
Even with the best intentions, you might run into a few little hiccups when you're trying to make flowers on nails, and that's perfectly normal, honestly. One common issue is polish dragging or smudging when you try to add details. This usually happens if the previous layer isn't completely dry. The solution is simple: just wait a little longer between coats, giving each layer ample time to set. Using thinner coats of polish also helps them dry faster and reduces the chance of smudging, which is a good tip.
Another challenge can be getting your flower shapes to look even or symmetrical. If your dots aren't quite round, or your lines are a bit wobbly, don't worry too much. Practice truly helps here; the more you do it, the steadier your hand will become. You can also try resting your hand on a flat surface while you paint, which can give you more stability. If a design doesn't turn out as you hoped, you know, just grab some nail polish remover and start fresh; it's all part of the learning process, after all. Sometimes, using a bit less polish on your tool can also prevent blobs and give you cleaner shapes, so that's something to keep in mind.
So, we've gone over the basics of getting your nails ready, the simple tools you can use, and how to pick out lovely colors for your designs. We also chatted about easy ways to paint those little flowers, especially with a handy dotting tool, and shared some tricks to make sure your beautiful creations last. Plus, we touched on how to handle those common little problems that might pop up along the way, giving you some ideas for keeping your nail art looking its best.


Detail Author:
- Name : Elyssa Anderson
- Username : kayley.stiedemann
- Email : wunsch.geovanni@hotmail.com
- Birthdate : 1999-03-26
- Address : 20091 Harris Parkway East Cordell, MS 81478-7153
- Phone : +1.949.427.5465
- Company : Bruen-Schuppe
- Job : Paperhanger
- Bio : Ducimus harum placeat tempora exercitationem laborum. Earum odio qui voluptate et et laborum porro. Aperiam aperiam hic quisquam rem. Sunt voluptates ipsum a velit vero reprehenderit quae.
Socials
tiktok:
- url : https://tiktok.com/@chad_runolfsdottir
- username : chad_runolfsdottir
- bio : Autem laudantium quaerat nesciunt et.
- followers : 2734
- following : 1777
facebook:
- url : https://facebook.com/chad_runolfsdottir
- username : chad_runolfsdottir
- bio : Enim soluta magnam nostrum deserunt numquam laborum. Iure eum aut provident et.
- followers : 1135
- following : 2916
twitter:
- url : https://twitter.com/chad8232
- username : chad8232
- bio : Explicabo quis accusantium quas quis qui. Molestiae quis molestiae consequatur tempora ratione quod. Eligendi eum totam voluptas qui sequi.
- followers : 514
- following : 656
